# Apify Insights Analytics API (`lofomachines/apify-insights-exporter-api`) Actor
Export Monetization, Debugging, Acquisition, and Actor quality analytics from your personal Apify account using an encrypted Console session token to track progress on your personal devices and dashboards.
- **URL**: https://apify.com/lofomachines/apify-insights-exporter-api.md
- **Developed by:** [Lofomachines](https://apify.com/lofomachines) (community)
- **Categories:** Developer tools, Automation, Integrations
- **Stats:** 1 total users, 0 monthly users, 0.0% runs succeeded, 0 bookmarks
- **User rating**: No ratings yet
## Pricing
from $0.01 / complete insights export
This Actor is paid per event. You are not charged for the Apify platform usage, but only a fixed price for specific events.
Learn more: https://docs.apify.com/platform/actors/running/actors-in-store#pay-per-event
## What's an Apify Actor?
Actors are web data automations that power AI and operations. They run on the Apify platform to scrape websites, process data, connect APIs, and automate workflows.
In Batch mode, an Actor accepts a well-defined JSON input, performs an action which can take anything from a few seconds to a few hours,
and optionally produces a well-defined JSON output, datasets with results, or files in key-value store.
In Standby mode, an Actor provides a web server which can be used as a website, API, or an MCP server.
Actors are written with capital "A".
## How to integrate an Actor?
If asked about integration, you help developers integrate Actors into their projects.
You adapt to their stack and deliver integrations that are safe, well-documented, and production-ready.
The best way to integrate Actors is as follows.
- **AI agents and MCP clients** — the [Apify MCP server](https://docs.apify.com/integrations/mcp.md) at `https://mcp.apify.com` (remote, streamable HTTP, OAuth on first use).
- **Agentic workflows and local Actor development** — [Agent Skills](https://apify.com/.well-known/agent-skills/index.json) with the [Apify CLI](https://docs.apify.com/cli/docs.md): `npm install -g apify-cli`, then `apify login`.
- **JavaScript/TypeScript projects** — the official [JS/TS client](https://docs.apify.com/api/client/js/docs.md): `npm install apify-client`.
- **Python projects** — the official [Python client](https://docs.apify.com/api/client/python/docs.md): `pip install apify-client`.
- **Any other language** — the [REST API](https://docs.apify.com/api/v2.md).
For usage examples, see the [API](#api) section below.
For more details, see Apify documentation as [Markdown index](https://docs.apify.com/llms.txt) and [Markdown full-text](https://docs.apify.com/llms-full.txt).
# README
Want to know **how to get monetization and Actor quality via API in Apify**? Apify Insights Analytics Exporter converts the data from your personal Apify Insights dashboard into one clean JSON object that you can retrieve through the Apify API, Make, Zapier, n8n, JavaScript, Python, or any HTTP client.
Export **revenue, costs, profit, user growth, acquisition and Actor quality scores** without opening a browser inside the Actor. Choose a reporting month, paste your encrypted Console session token, and start the run. The Actor writes exactly one dataset item containing the complete structured response.
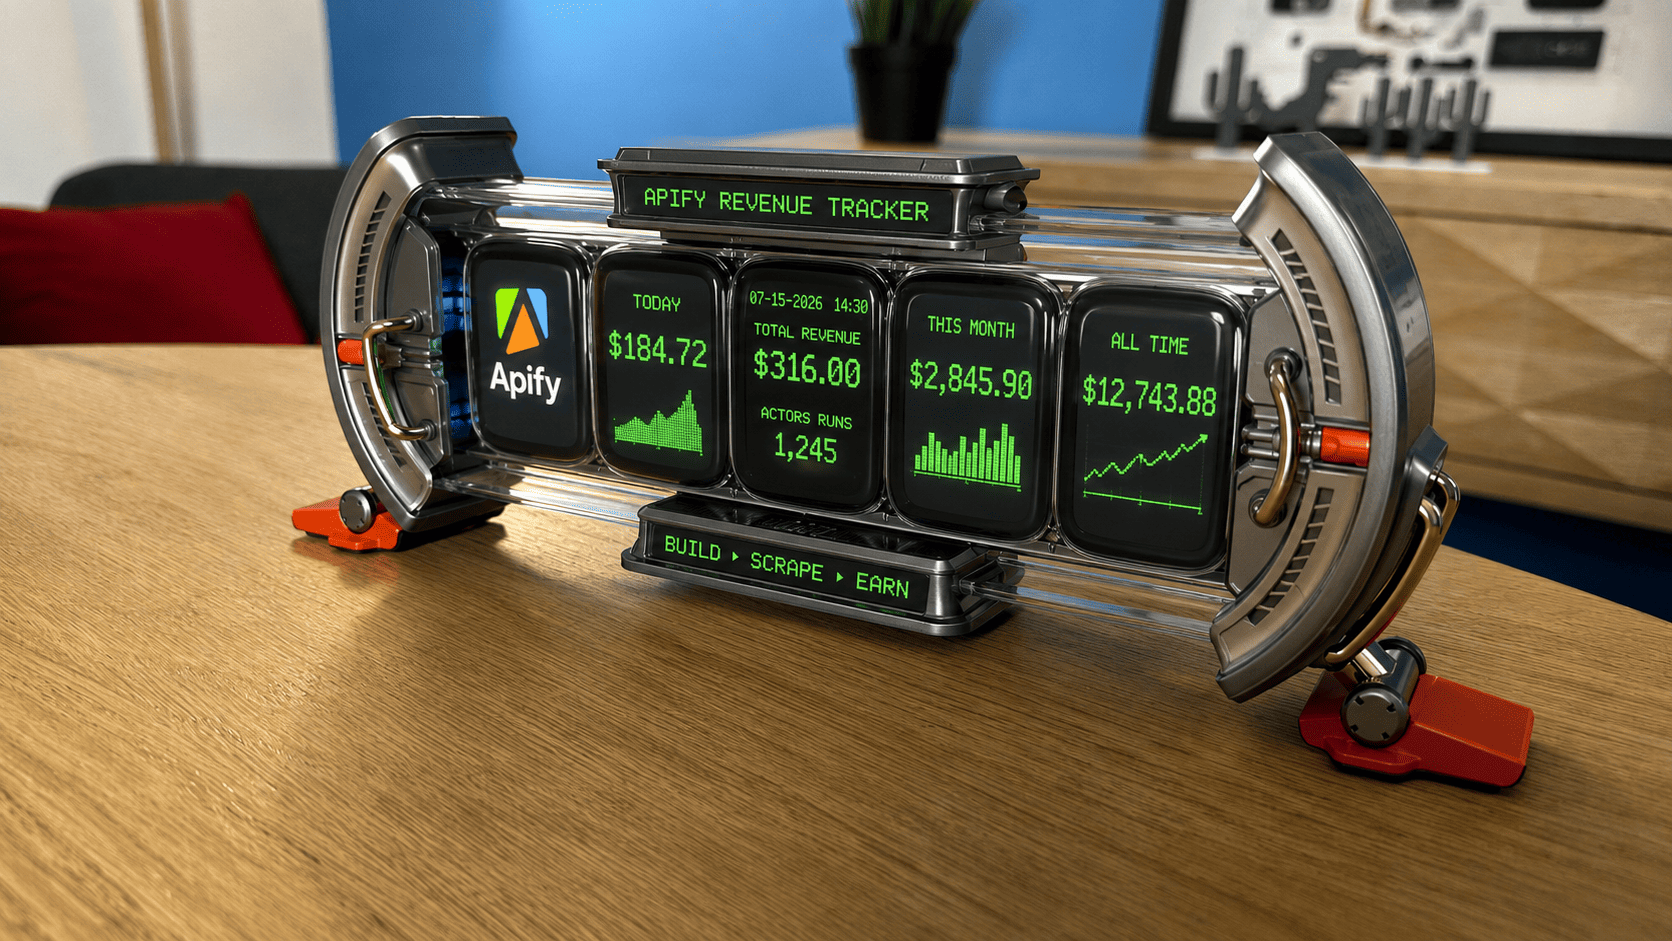
### How to get Apify monetization and Actor quality via API
Apify's public API can start this Actor and return its dataset result, while the encrypted Console session token authorizes access to the private Insights data connected to your account.
The process is simple:
1. Get your Apify Console session token using the beginner-friendly guide below.
2. Paste it into the Actor's secret `sessionToken` input.
3. Choose the reporting month from the dropdown.
4. Select Monetization, Debugging, Acquisition, and/or Actor quality.
5. Run the Actor in Console or call it through the Apify API.
6. Receive one structured JSON item with all requested analytics.
No scraping browser, proxy, password, or permanent API token is used to access Insights.
### What Apify Insights data can you export?
#### Apify monetization API data
- Revenue, platform costs, profit, and profit margin trends
- Monetization breakdown by Actor
- Paying and free user statistics
- Cost per 1,000 results
- Daily run and result statistics
- Monthly performance for all Actors or selected Actors
#### Apify Actor quality API data
- Actor quality score and percentile
- Input schema, output schema, and README quality signals
- Praises and recommended improvements
- Business-value recommendations
- Optional full Actor profile with pricing, metrics, and basic information
- Quality data for every owned Actor or only selected Actors
#### Apify debugging analytics
- Run success-rate statistics
- Daily run performance
#### Apify acquisition analytics
- Store and Console page views
- Users who viewed the Actor
- Users who started a run
- Conversion and acquisition signals
- Top referral sources
- Top countries
- Optional comparison with the previous month
### How to find your Apify Console session token: step-by-step
This is the easiest method for Chrome, Edge, Brave, or another Chromium-based browser. You do not need to install an extension or write code.
#### Step 1: sign in to Apify Console
Open [Apify Console](https://console.apify.com/) and sign in to the account whose analytics you want to export.
Make sure you are using the correct personal or organization account before continuing. The Actor can retrieve only the Insights data available to the supplied session.
#### Step 2: open the Apify Insights page
In the left menu, go to **Development → Insights**, then open **Monetization** or **Actor quality**.
Keep this page open. It will generate the authenticated request containing the token you need.
#### Step 3: open browser Developer Tools
Use one of these shortcuts:
- **macOS:** press `Command + Option + I`
- **Windows or Linux:** press `Ctrl + Shift + I`
- Or right-click the page and choose **Inspect**
A panel will open on the right or bottom side of your browser.
#### Step 4: select the Network tab
Click **Network** at the top of Developer Tools. If you cannot see it, click the `»` button and select **Network**.
Select the **Fetch/XHR** filter if it is available. This hides images and other unrelated files.
#### Step 5: reload the Insights page
With the Network tab open, reload the page:
- **macOS:** press `Command + R`
- **Windows or Linux:** press `Ctrl + R`
You should now see a list of requests.
#### Step 6: find a Console backend request
In the Network search box, enter:
```text
settings
```
pen that request.
Any authenticated request to `console-backend.apify.com` with an `Authorization` header is suitable.
#### Step 7: copy the Authorization bearer token
After selecting the request:
1. Open **Headers**.
2. Scroll to **Request Headers**.
3. Find `authorization`.
4. Its value should begin with `Bearer`.
It should look similar to this safe, fake example:
```text
authorization: Bearer apify_ui_xXxXxxxXXx...
```
Copy only the part after `Bearer `:
```text
apify_ui_xXxXxxxXXx...
```
The Actor also accepts the complete `Bearer ...` value, but copying only the token is cleaner.
#### Step 8: paste it into the Actor Input tab
Return to this Actor and open **Input**. Paste the value into **Apify Console session token**.
This field is marked `isSecret: true`. Apify encrypts it before storage, masks it in the interface, and decrypts it only inside the Actor run.
#### If you cannot see the Authorization header
Try these checks in order:
1. Confirm that you are signed in to Apify Console.
2. Keep Developer Tools open and reload the page again.
3. Remove all Network filters, then search for `console-backend` again.
4. Select another Fetch/XHR request.
5. Right-click the request and choose **Copy → Copy as cURL**.
6. Search the copied text for `authorization: Bearer`.
Do **not** copy any of these values:
- A browser Cookie
- Your password
- `x-idempotency-key`
- A normal token beginning with `apify_api_`
- The complete copied cURL command
Only the Console `Authorization: Bearer ...` value is needed.
### What is the difference between an Apify API token and a session token?
This workflow uses two different credentials for two different jobs:
| Credential | Purpose | Where to find it |
| --------------------- | --------------------------------------------------------- | --------------------------------------------------- |
| Apify API token | Starts the Actor programmatically through `api.apify.com` | Apify Console → Settings → API & Integrations |
| Console session token | Lets this Actor read the Insights JSON backend | Browser Developer Tools → Network → Request Headers |
A normal `apify_api_...` token cannot replace the Console session token for the private Insights endpoints. If you run the Actor manually from Apify Console, you only need to enter the Console session token in the Input tab.
### How to run the Apify monetization and Actor quality exporter
#### No-code setup in Apify Console
1. Paste your Console session token.
2. Choose **Current month**, **Previous month**, or another month from the dropdown.
3. Keep all four Insights sections selected, or remove sections you do not need.
4. Optionally enter Actor IDs, names, or `username/actor-name` values.
5. Choose the Actor quality scope and detail level.
6. Click **Start**.
7. Open **Single-item Insights dataset** to download or integrate the result.
The month selector is relative, so it never becomes outdated. For example, **Previous month** always resolves to the correct `YYYY-MM` value when the run starts.
#### Example input for a complete account overview
```json
{
"sessionToken": "YOUR_CONSOLE_SESSION_TOKEN",
"monthPreset": "previous",
"categories": ["monetization", "debugging", "acquisition", "actorQuality"],
"actorQualityScope": "all",
"actorQualityDetail": "score",
"includePreviousMonth": true
}
```
#### Example input for one Actor with recommendations
```json
{
"sessionToken": "YOUR_CONSOLE_SESSION_TOKEN",
"monthPreset": "current",
"categories": ["monetization", "acquisition", "actorQuality"],
"actors": ["username/my-actor"],
"actorQualityScope": "selected",
"actorQualityDetail": "recommendations"
}
```
### How to call Apify monetization and Actor quality through the API
Use `run-sync-get-dataset-items` to start the Actor and receive the single dataset item in the same HTTP response.
Replace both placeholders before running this command:
```bash
curl -X POST \
-H 'Authorization: Bearer YOUR_APIFY_API_TOKEN' \
-H 'Content-Type: application/json' \
-d '{
"sessionToken": "YOUR_CONSOLE_SESSION_TOKEN",
"monthPreset": "previous",
"categories": ["monetization", "actorQuality"],
"actorQualityScope": "all",
"actorQualityDetail": "score"
}' \
'https://api.apify.com/v2/acts/lofomachines~apify-insights-exporter/run-sync-get-dataset-items'
```
Send your Apify API token in the `Authorization` header, not in the URL. Keep both credentials on the server side and never expose them in frontend JavaScript.
#### JavaScript example with Apify Client
```javascript
import { ApifyClient } from 'apify-client';
const client = new ApifyClient({ token: process.env.APIFY_API_TOKEN });
const run = await client.actor('lofomachines/apify-insights-exporter').call({
sessionToken: process.env.APIFY_CONSOLE_SESSION_TOKEN,
monthPreset: 'previous',
categories: ['monetization', 'actorQuality'],
actorQualityScope: 'all',
actorQualityDetail: 'score',
});
const { items } = await client.dataset(run.defaultDatasetId).listItems();
const completeInsights = items[0];
console.log(completeInsights);
```
### Apify Insights API input reference
| Input | Description | Default |
| ---------------------- | ------------------------------------------------------------ | ---------------- |
| `sessionToken` | Required encrypted Console bearer token | Required |
| `monthPreset` | Reporting-month dropdown from current month to 23 months ago | Current month |
| `categories` | Monetization, Debugging, Acquisition, and/or Actor quality | All four |
| `actors` | Actor IDs, names, or `username/name`, one per line | All Actors |
| `actorQualityScope` | All owned Actors or selected Actors only | All owned Actors |
| `actorQualityDetail` | Score, recommendations, or full profile | Score only |
| `includePreviousMonth` | Adds an Acquisition comparison month | `true` |
Existing API integrations can still send the hidden advanced `month` property in `YYYY-MM` format. When supplied, it overrides `monthPreset`.
### Apify monetization and Actor quality JSON output
Every run writes exactly one dataset item. You do not need to join rows or group metrics after the export.
```json
{
"status": "SUCCEEDED",
"retrievedAt": "2026-07-30T12:00:00.000Z",
"durationMillis": 1840,
"month": "2026-07",
"categories": ["monetization", "actorQuality"],
"metricCount": 6,
"insights": {
"monetization": {
"profitMargin": {
"month": "2026-07",
"retrievedAt": "2026-07-30T12:00:00.000Z",
"data": {}
}
},
"actorQuality": {
"actors": [
{
"actorId": "ACTOR_ID",
"actorName": "username/my-actor",
"detail": "score",
"retrievedAt": "2026-07-30T12:00:00.000Z",
"data": {
"scores": {
"actorQuality": 82,
"actorQualityPercentile": 91
}
}
}
]
}
}
}
```
The same JSON object is saved as the `OUTPUT` record in the run's default key-value store.
### What happens when the session token is invalid?
An expired or incorrect token does not create a failed integration. The Actor exits successfully, writes `invalid token` to the log, and returns one diagnostic item:
```json
{
"status": "INVALID_TOKEN",
"message": "invalid token",
"metricCount": 0,
"insights": {}
}
```
Copy a new bearer token from an authenticated `console-backend.apify.com` request and run the Actor again.
### Apify analytics API use cases
- Build a monthly Apify revenue and profit dashboard
- Export Apify monetization data to Google Sheets or Excel
- Monitor profit margin and cost per 1,000 results
- Track Actor quality scores across a publisher portfolio
- Identify README, input schema, and output schema improvements
- Compare Store traffic with users who actually run an Actor
- Analyze acquisition countries and referral sources
- Create scheduled publisher reports in Make, Zapier, or n8n
- Feed one structured Insights JSON object into a data warehouse or AI agent
- Alert your team when success rate or Actor quality decreases
### Speed, cost, and reliability
This Actor uses direct HTTP requests and parallel processing. It does not launch Chrome, Playwright, Puppeteer, or a proxy. The default configuration uses 128 MB of memory and is designed to finish in seconds for typical accounts.
For the lowest cost:
- Choose only the Insights sections you need.
- Use **Score only** for Actor quality.
- Select specific Actors for focused reports.
The Insights JSON endpoints belong to Apify Console and are not part of the versioned public Apify API. They may change when Apify updates its dashboard. The Actor validates authentication failures and returns a clear result instead of silently producing incomplete data.
### Security and privacy
- The Actor runs with **Limited permissions**.
- `sessionToken` is an encrypted Apify secret input.
- The token is never written to logs, datasets, or output.
- The Actor never asks for your password or browser cookies.
- Results are written only to the run's default dataset and key-value store.
- Signing out of Apify Console may invalidate the session token.
- Short-lived tokens expire and should be replaced when necessary.
Treat the Console session token like a password. Do not send it to another person, publish it in code, or store it in a public repository.
### Frequently asked questions about the Apify Insights API
#### How can I get Apify monetization data via API?
Run this Actor through `run-sync-get-dataset-items` with your Apify API token in the HTTP Authorization header and your Console session token in the encrypted Actor input. The response contains monetization analytics in `insights.monetization`.
#### How can I get Apify Actor quality scores via API?
Select the `actorQuality` category. Quality profiles are returned in `insights.actorQuality.actors`, with one profile for each requested Actor inside the single dataset item.
#### Can I use my normal Apify API token as the session token?
No. A token beginning with `apify_api_` authenticates the public Apify API, but it does not authenticate the private Console Insights backend.
#### Can the Actor read my browser cookies automatically?
No. The Actor does not access your browser, cookies, password, or local storage. You explicitly provide the short-lived bearer token through an encrypted secret field.
#### Why does the dataset contain only one item?
One item is easier to use in APIs, automation platforms, databases, and AI workflows. Every category and metric is already grouped inside the `insights` object.
#### Does the reporting-month dropdown stay updated?
Yes. It uses relative options such as **Current month**, **Previous month**, and **6 months ago**. The Actor resolves the option to the correct calendar month when each run starts.
#### Is this an official Apify Actor?
No. This is an independent community Actor for Apify publishers and developers.
### Discover more automation Actors
Need more scrapers, APIs, monitoring tools, and automation workflows? **[Discover all lofomachines Actors on Apify](https://apify.com/lofomachines).**
# Actor input Schema
## `sessionToken` (type: `string`):
Required. Paste the value after 'Bearer' from an authenticated console-backend.apify.com request. This field is encrypted by Apify and never written to logs or output.
## `categories` (type: `array`):
Select one or more Insights sections to export.
## `monthPreset` (type: `string`):
Choose the month to export. Relative choices are converted to the correct YYYY-MM value when the run starts, so this menu never becomes outdated.
## `month` (type: `string`):
Optional advanced override in YYYY-MM format. Kept hidden in the no-code form for backward-compatible API integrations.
## `actors` (type: `array`):
Limit results to specific Actors. Enter an Actor ID, name, or username/name on each line. Leave empty for all owned Actors.
## `actorQualityScope` (type: `string`):
Export quality scores for every owned Actor, or only the Actors listed above.
## `actorQualityDetail` (type: `string`):
Score only is fastest. Recommendations adds improvement advice. Full also includes pricing, metrics, and basic Actor information.
## `includePreviousMonth` (type: `boolean`):
Include the previous month so you can compare acquisition performance.
## Actor input object example
```json
{
"categories": [
"monetization",
"debugging",
"acquisition",
"actorQuality"
],
"monthPreset": "current",
"month": "2026-07",
"actorQualityScope": "all",
"actorQualityDetail": "score",
"includePreviousMonth": true
}
```
# Actor output Schema
## `dataset` (type: `string`):
No description
## `summary` (type: `string`):
No description
# API
You can run this Actor programmatically using our API. Below are code examples in JavaScript, Python, and CLI, as well as the OpenAPI specification and MCP server setup.
## JavaScript example
```javascript
import { ApifyClient } from 'apify-client';
// Initialize the ApifyClient with your Apify API token
// Replace the '' with your token
const client = new ApifyClient({
token: '',
});
// Prepare Actor input
const input = {};
// Run the Actor and wait for it to finish
const run = await client.actor("lofomachines/apify-insights-exporter-api").call(input);
// Fetch and print Actor results from the run's dataset (if any)
console.log('Results from dataset');
console.log(`💾 Check your data here: https://console.apify.com/storage/datasets/${run.defaultDatasetId}`);
const { items } = await client.dataset(run.defaultDatasetId).listItems();
items.forEach((item) => {
console.dir(item);
});
// 📚 Want to learn more 📖? Go to → https://docs.apify.com/api/client/js/docs
```
## Python example
```python
from apify_client import ApifyClient
# Initialize the ApifyClient with your Apify API token
# Replace '' with your token.
client = ApifyClient("")
# Prepare the Actor input
run_input = {}
# Run the Actor and wait for it to finish
run = client.actor("lofomachines/apify-insights-exporter-api").call(run_input=run_input)
# Fetch and print Actor results from the run's dataset (if there are any)
print("💾 Check your data here: https://console.apify.com/storage/datasets/" + run["defaultDatasetId"])
for item in client.dataset(run["defaultDatasetId"]).iterate_items():
print(item)
# 📚 Want to learn more 📖? Go to → https://docs.apify.com/api/client/python/docs/quick-start
```
## CLI example
```bash
echo '{}' |
apify call lofomachines/apify-insights-exporter-api --silent --output-dataset
```
## MCP server setup
```json
{
"mcpServers": {
"apify": {
"command": "npx",
"args": [
"mcp-remote",
"https://mcp.apify.com/?tools=lofomachines/apify-insights-exporter-api",
"--header",
"Authorization: Bearer "
]
}
}
}
```
## OpenAPI specification
Download the OpenAPI definition: https://api.apify.com/v2/actors/OGxlxMgjDyBHl3MiO/builds/RpPME6YtY5YN9OLLH/openapi.json