Building a Foundation using Vite: Integrating Front-End and Back-End with Ease
Set up your web applications effortlessly with our integrated foundation using Vite, React and Express.

Getting started with web app development can often feel overwhelming, especially when tackling the challenge of setting up a solid project structure. This guide aims to simplify the process by helping you create a foundational setup for web applications, enabling you to build with ease and minimal effort.
What We’ll Cover
- Prerequisites
- Front-end Setup
- Back-end Setup
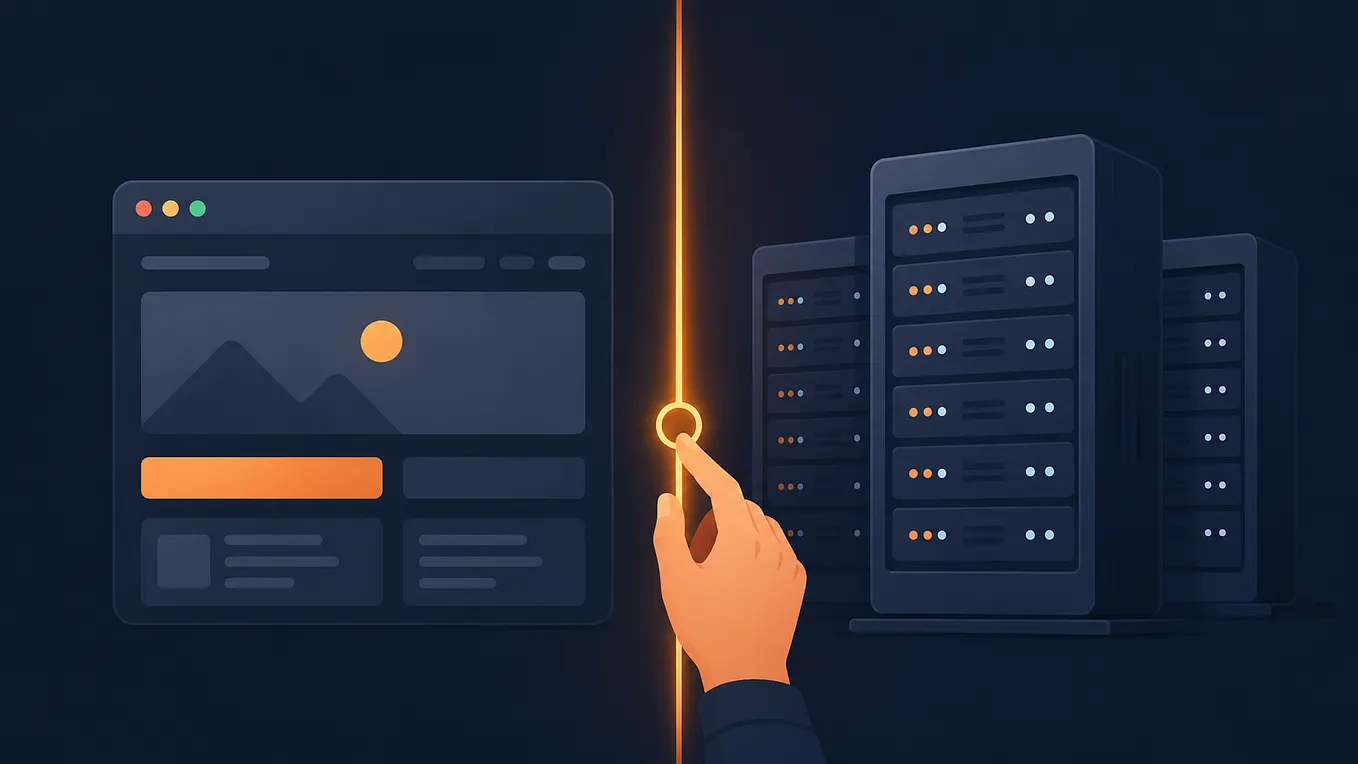
- Integrating Front-end with Back-end
1. Prerequisites
In this guide, we’ll build a web app named “starter-online-store” using the following tech stack:
- Build tool: Vite — A fast and modern build tool that helps you quickly set up and develop web projects.
- Front-end: ReactJS — A popular JavaScript library for building user interfaces, especially for single-page applications.
- Back-end: ExpressJS — A minimal and flexible Node.js web application framework that provides a robust set of features for web and mobile applications.
2. Front-end Setup
In this section, we will set up the front-end of our web app by creating a React application using Vite. This will provide us with a fast and efficient development environment to build our user interface.
Step 1: Create a React Project with Vite
Ensure you have Node.js (v18+ or v20+) installed. Then, use the following command to scaffold a React project with Vite:
npm create vite@latest starter-online-store -- --template reactFollow the prompts during installation. After the setup, run these commands to initialize the project:
cd stripe-client-app
npm install
npm run dev
Upon successful setup, your terminal will display a local development URL (e.g., localhost:5173). Visit this URL to view your project.
Step 2: Install Additional Dependencies
To enhance your React app, install the following modules:
2.1. Error Handling
Install the react-error-boundary library for handling errors:
npm install react-error-boundaryError boundaries are React components that catch JavaScript errors anywhere in their child component tree, log those errors, and display a fallback UI instead of the component tree that crashed.
Wrap your <App /> component with the <ErrorBoundary> component in src/main.jsx:
...
createRoot(document.getElementById("root")).render(
  <StrictMode>
    <ErrorBoundary>
      <App />
    </ErrorBoundary>
  </StrictMode>
)
2.2. Routing
Install react-router-dom for handling routing in your app:
npm install react-router-domThis library enables you to match URLs to components and navigate between pages.
Step 3: Add a Sample Product to the Home Page
3.1. Create a Page Component
Add a pages folder in the src directory and create a file named home.jsx.
Add the following content in home.jsx which we created in last step.
const Home = () => {
  const handleSubmit = async (event) => {
    event.preventDefault()

    console.log("Handle Buy Now click")
  }

  return (
      <div className="product-container">
        <h2>Wireless Headphones</h2>
        <img
          src="wireless-headphone.webp"  // Place this file in {YOUR_PROJECT}/public/ folder
          alt="Light house"
          className="product-image"
        />
        <p>
          High-quality wireless headphones with noise cancellation and 20-hour
          battery life.
        </p>
        <div className="product-price-cta">
          <p style={{ fontSize: "24px" }}>$19.99</p>

          <button onClick={handleSubmit}>Buy Now</button>
        </div>
      </div>
  )
}

export { Home }
3.2. Update Your App.jsx File
Replace the content of src/App.jsx with:
import { Route, Routes } from "react-router-dom"
import { Home } from "./pages/home"

import "./App.css"

const routes = [
  {
    path: "/",
    element: <Home />,
  },
]

function App() {
  return (
    <Routes>
      {routes.map(({ path, element }, index) => (
        <Route path={path} element={element} key={index} />
      ))}
    </Routes>
  )
}

export default App
You can directly use this GitHub project to get started!
Back-end Setup
Our backend will use Express.js, a minimalist web framework for Node.js. It provides a robust set of features for building web and mobile applications efficiently.
Step 1: Initialize the Node.js Project and Install Dependencies
1. Navigate to your project folder in the terminal.
Get Sachin Patel’s stories in your inbox
Join Medium for free to get updates from this writer.
2. Initialize the project by running the following command:
npm initFollow the prompts to configure your package.json file.
3. Install the Express.js framework:
npm install express --saveStep 2: Configure ES Module Support
To use modern ES Modules instead of the older CommonJS syntax, you need to update the package.json file by adding "type": "module". This change allows you to use the latest JavaScript module features, which are more efficient and easier to manage.
Additionally, you should add "start-server": "node index.js" under the "scripts" section. This script provides a convenient way to start your server with a simple command, making it easier to run and manage your application.
{
  "name": "online-store-server",
  ...
  "type": "module",
  ...
  "scripts": {
    "start-server": "node index.js"
  }
}
Step 3: Create the Server
- At the root level of your project folder, create a new file named index.js.
- Add the following code to set up a basic Express server:
import express from "express";

const app = express();

app.get("/", (req, res) => {
  res.send("Hello World!");
});

app.listen(4242, () => {
  console.log(`Example app listening on port 4242`);
});
Step 4: Install Additional Dependencies
We’ll also install two essential modules for future use. Open terminal and install following two modules.
1. cors: Middleware for enabling Cross-Origin Resource Sharing.
npm install cors2. dotenv: Utility to load environment variables from a .env file into process.env.
npm install dotenvStep 5: Update the Server File
Now, let’s update the server.js file to include the newly installed modules. Here’s the revised content:
import express from "express";
import "dotenv/config";
import cors from "cors";

const app = express();

// Enable CORS
app.use(cors());

// Define a sample route
app.get("/", (req, res) => {
  res.send("Hello World!");
});

// Start the server
app.listen(4242, () => {
  console.log(`Server is running on http://localhost:4242`);
});
Step 6: Start the Server
Run the following command to start your server:
npm run start-serverYou should see the server running successfully. Open your browser and visit localhost:4242. You should see the “ Hello World!” message displayed.
Integrating Front-End with Back-End: Fetching Product Details
Now that we have our front-end and back-end set up, let’s take the next step: connecting the two. We will create an API endpoint on the server to return product details and fetch this data from the front-end to display it dynamically.
Step 1: Create an API Endpoint on the Server
- Open the
index.jsfile in your back-end project. - Add a new route that returns product details. Update the file as follows:
 import express from "express";
 import "dotenv/config";
 import cors from "cors";

 const app = express();

 // Enable CORS
 app.use(cors());

 // Product data
 const products = [
   {
     id: 1,
     name: "Wireless Headphones",
     description: "High-quality wireless headphones with noise cancellation and 20-hour battery life.",
     price: 99.99,
     image: "/wireless-headphone.webp", // Place this image in the public folder of your FE project
   },
 ];

 // API endpoint to fetch product details
 app.get("/api/products", (req, res) => {
   res.json(products);
 });

 // Sample route
 app.get("/", (req, res) => {
   res.send("Hello World!");
 });

 // Start the server
 app.listen(4242, () => {
   console.log(`Server is running on http://localhost:4242`);
 });
This endpoint (/api/products) will return a JSON response containing the product data.
Step 2: Update the Front-End to Consume the API
- Open the
src/pages/home.jsxfile in your front-end project. - Replace the hardcoded product data with an API call to fetch the product details. Update the file as follows:
 import { useEffect, useState } from "react";

 const Home = () => {
   const [product, setProduct] = useState(null);

   useEffect(() => {
     const fetchProduct = async () => {
       try {
         const response = await fetch("http://localhost:4242/api/products");
         const data = await response.json();
         setProduct(data[0]); // Assuming one product for simplicity
       } catch (error) {
         console.error("Error fetching product data:", error);
       }
     };

     fetchProduct();
   }, []);

   const handleSubmit = (event) => {
     event.preventDefault();
     console.log("Handle Buy Now click");
   };

   return (
     <div className="product-container">
       {product ? (
         <>
           <h2>{product.name}</h2>
           <img
             src={product.image}
             alt={product.name}
             className="product-image"
           />
           <p>{product.description}</p>
           <div className="product-price-cta">
             <p style={{ fontSize: "24px" }}>${product.price}</p>
             <button onClick={handleSubmit}>Buy Now</button>
           </div>
         </>
       ) : (
         <p>Loading product details...</p>
       )}
     </div>
   );
 };

 export { Home };
Step 3: Test the Integration
1. Re-start your back-end server:
Press ^ C on Mac / Ctrl + C on Windows, then run following command:
npm run start-server2. Open your browser and navigate to http://localhost:5173. You should see the product details dynamically fetched from the back-end and displayed on the front-end.
By following this integration, you’ve connected your front-end with your back-end, enabling your application to fetch and display dynamic content. This approach can be extended to handle more complex data flows and API integrations in the future.
Conclusion
In this article, we’ve built a solid foundation for developing a full-stack web application by setting up the front-end and back-end from scratch. We started with a modern front-end stack using React and Vite, ensuring a fast and efficient development experience. On the back-end, we leveraged Express.js to create a lightweight and scalable server, integrating essential modules like cors and dotenv to handle cross-origin requests and environment configurations seamlessly.
Originally published at https://web-lab.hashnode.dev on January 16, 2025.