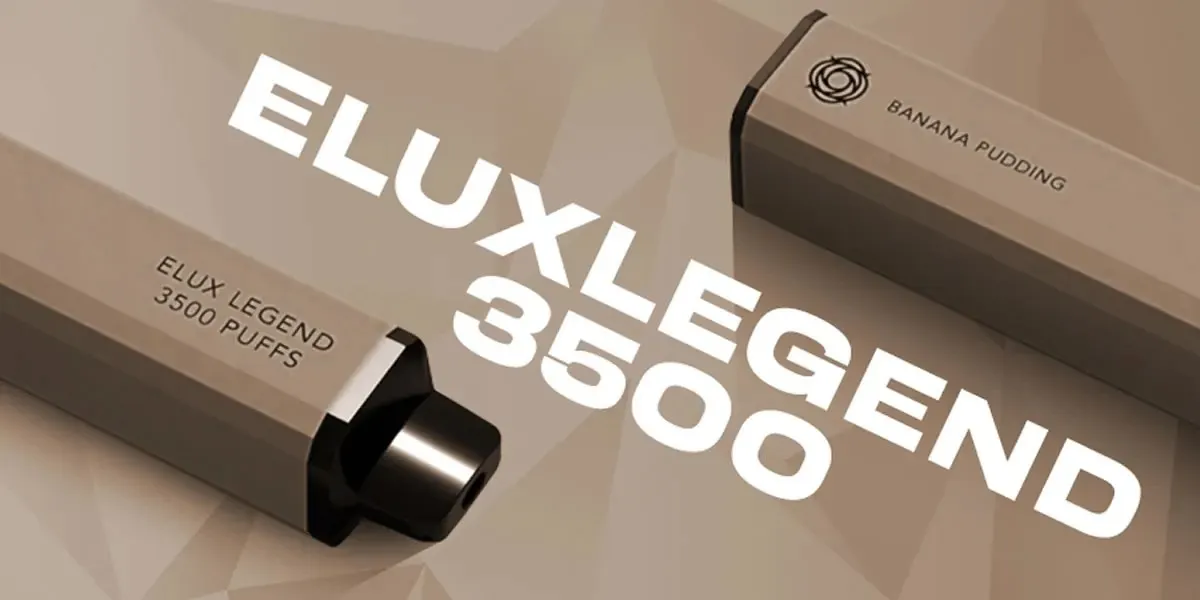
Can You Recharge a Disposable Vape? Charging Guide & More

So, you’ve got this nifty disposable vape in your hands, and you’re wondering, can you give it a new lease on life? Disposable vape pens and e-cigs are all the rage these days, serving up nicotine or other delights. But here’s the kicker — most of them are a one-time deal, not meant for recharging. Use it a few times, toss it away, no fuss with replacing parts or refilling tanks. Now, if you’re holding a disposable vape with a charging port, recharging it is a breeze. But what if your vape or puff bar lacks that port? Can you still bring it back to life? Stick around, because this article is your guide to resuscitating any disposable vape device.
The Lowdown

Not All Vapes Are Created Equal
First things first, let’s get one thing straight — not all disposable vapes are up for a second round, though rechargeable ones are becoming more widespread. If your vape falls into the rechargeable category, a standard micro-USB cable is usually your ticket to a refill. However, for those without the magical charging port, attempting to recharge manually is a risky business. Why? Because there’s no overcharge protection, and that battery of yours might decide to go rogue, overheating, exploding, and causing a bit of chaos.

Can You Revive a Disposable Vape?
- It’s a Case-by-Case Scenario
- Whether you can recharge your disposable vape depends on its lineage. Some disposable vapes, like the R&M Tornado 7000 and 4000 crystal bar, are built for a second life. With a charging port in tow, these rechargeable disposables can usually go through the cable dance a few times before calling it quits. But here’s the catch — if you’ve already tried and the battery’s playing hard to get, you’ve likely drained all its juice. And if your disposable vape is in the no-charging-port gang (looking at you, Puff Bars), it’s not designed for a comeback.
- Don’t Go Down the Risky Road
Now, here’s the real talk. Trying to juice up a non-rechargeable disposable vape is a big no-no. Technically, you might disassemble the vape and attempt a manual charge, but it’s like playing with fire — extremely dangerous. Without the rechargeable design, there’s no safeguard against overcharging, which means you’re in for a potential rollercoaster of overheating, electrical shocks, burning, and yes, even explosions. Not to mention, it’s a bit pointless. By the time the battery waves its white flag, your disposable vape is usually out of e-liquid, making any attempts at revival a futile pursuit.
Just a friendly warning — don’t attempt this if you’re not a seasoned pro at tinkering with electronics and fully aware of the risks.

A Bright Side Emerges
Lucky for us, many brands are hopping on the rechargeable disposable vape train. If the idea of a disposable e-cig with a rechargeable twist sounds appealing, your local vape store is the place to be. Ask about rechargeable disposable vapes, and you might just find what you’re looking for. Alternatively, if you’re open to a change, consider making the switch to a refillable pod system. They’re user-friendly, rechargeable, and let you use any e-liquid or flavored pods that tickle your fancy. And there you have it — the ins and outs of breathing new life into your disposable vape. Whether it’s a rechargeable hero or a one-time wonder, understanding your vape’s DNA is the key to a satisfying puffing experience. So, go on, explore the options, and vape responsibly!
Charging Your Rechargeable Vape
So, you’ve got this slick vape, and you’re all about those sweet clouds. But hey, even the coolest vapes need a little juice recharge now and then. Let’s dive into the nitty-gritty of how to charge your rechargeable vape without turning it into a mini-science project.

1. Hunt Down the Charging Port
First things first, let’s play detective and locate the charging port on your vape. If it’s rechargeable, there’s got to be a secret door for plugging in the charging cable. Check the base of your pen — it’s like finding treasure. Usually, you’ll be dealing with a micro-USB or USB Type-C port.
A quick tip: No charging cable in the box? No worries! Grab any micro USB cable lying around — the kind your Android buddies use. But hey, keep an eye out; some fancy vapes might throw you a curveball with a USB-C port. It’s like a tech-themed scavenger hunt!

2. Cable Connect and Wall Charger Dance
Now, let’s get that juice flowing. Plug one end of the USB cable into your vape, and the other end? Well, it’s time for the charger tango. Find yourself a regular USB wall charger, the kind you use for your everyday gadgets.
While your vape’s soaking up the energy, don’t play hard to get — stay close. Charging times can vary, taking anywhere from half an hour to a casual four hours. And here’s a golden rule: the moment the charging’s done, unplug that bad boy.
Pro tip: Don’t ghost your vape for days. Give it a little charging date for at least 30 minutes every couple of days. Think of it like a spa day for your vape.
3. Troubleshooting Tango
Uh-oh, did your battery ghost on you? Before you panic and start planning a vape funeral, try a little troubleshooting dance. If the battery’s being stubborn, consider cleaning the USB port with some compressed air or a gentle swipe of a cotton swab dipped in alcohol. Word of caution: Let the port dry before plugging in the cable again. We don’t want any sparks flying — unless you’re blowing those clouds, of course.
Get James William | Vape Gala’s stories in your inbox
Join Medium for free to get updates from this writer.
If all else fails, and your vape remains unresponsive, it might be time to retire it. Say your goodbyes and embrace the journey of getting a shiny new vape. And there you have it — the lowdown on charging your rechargeable vape. Keep those clouds rolling, and may your vape stay forever charged!
Reviving Your Non-Rechargeable Vape: A Risky Endeavour or Worth the Shot?
So, you’ve found yourself with a non-rechargeable vape running on fumes. We’ve all been there — the dilemma of tossing it or trying to squeeze out a bit more life. Before you dive in, let’s talk about the risks and the tools you need to play mad scientist with your vape.
Understanding the Risks: Proceed with Caution
You know the saying — curiosity killed the cat. In this case, messing with a non-rechargeable vape could give you more than just a shock. Attempting to recharge might lead to overheating, burning, or worse, a vape that decides to go boom. If that’s not enough to make you hesitate, dismantling it might leave you with a permanently damaged gadget. Proceed at your own risk — we warned you.

Gather Your Arsenal: Tools of the Trade
Before you embark on this vape-reviving adventure, gather your tools. You’ll need a pair of pliers, red and black wires (or a sacrificial USB cable), a USB wall charger or lithium-ion battery charger, wire cutters, wire strippers, electrical tape, and if you’re feeling fancy — alligator clips. Now, let’s get hands-on.

Dismantle with Care: Opening Pandora’s Vape
Grab those pliers and gently twist off the bottom cap of your vape. If the insides don’t slide out smoothly, you might need to wrestle with the top by removing the mouthpiece. Just be cautious — wires and bits can be delicate.

Hunt for the Powerhouse: Locating the Battery
Inside your vape, the powerhouse is a cylinder-shaped battery, probably flaunting red and black wires. Take a peek at the e-liquid tank too. If it’s dry, refilling might be an option; otherwise, recharging could be a futile exercise.

Wire Wizardry: Preparing for the Jumpstart
If you’ve opted for a USB charging cable, snip off the USB plug and expose the red and black wires. For traditional wires, ensure both ends are stripped. It’s advisable to use a lithium-ion charger — no need to sacrifice a USB cable, plus it’s designed for the job.

Crack the Code: Identifying Battery Terminals
Look for the plus (+) and minus (-) signs on the battery — they point to positive and negative terminals. Generally, the negative is linked to the LED, while the positive powers the tank. If wires are in play, black is negative, and red is positive.

Jumper Cable Time: Connecting Wires to the Charger
For a USB cable, plug it into a standard USB wall charger. If using wires, grab that lithium-ion battery charger. Black wire to the charger’s negative terminal, red to the positive. Alligator clips can be handy, securing the wires in place.

Spark It Up: Connecting Wires to the Battery
Clip or tape the red wire to the positive terminal of the battery and the black wire to the negative. Now, it’s showtime — let’s breathe life into that battery.

Charge, Don’t Overcharge: Patience is Key
Plug in the charger, and let the battery sip the energy for 7 to 10 minutes. Keep an eye on it — no wandering off. If smoke or excessive heat shows up, unplug immediately. Safety first, folks.

Reassemble, Cross Fingers: The Moment of Truth
After the charge, reassemble your vape. Cross your fingers and hope for the best. If it doesn’t cooperate, give it another 10-minute charge. If all else fails, accept defeat — that battery might be beyond saving.
In the world of vape tinkering, risks abound. So, should you attempt to breathe life into your non-rechargeable vape? Well, that’s your call. Just remember, we warned you — it’s a bumpy ride in the wild world of DIY vape resurrection.
illustration images are taken from the wikiHow.