3D Environment My Workflow Self Studying (11/6/26)

3 min readJun 12, 2026
I watched some YouTube tutorials, it was kind of difficult because most of the tutorials that I can see talk about 2D concept art. But from their workflow, also check Gemini’s help I can guess my stylized workflow going to be like:
- First, finding the references for the vibe, mood, texture, scale, buildings, etc. They can be from other works, but most prefer real-world for the actual scene. Preparing for the storytelling, lighting intention, texture, building, objects (similar to Stu1 A3 RMIT, Nature to Future)
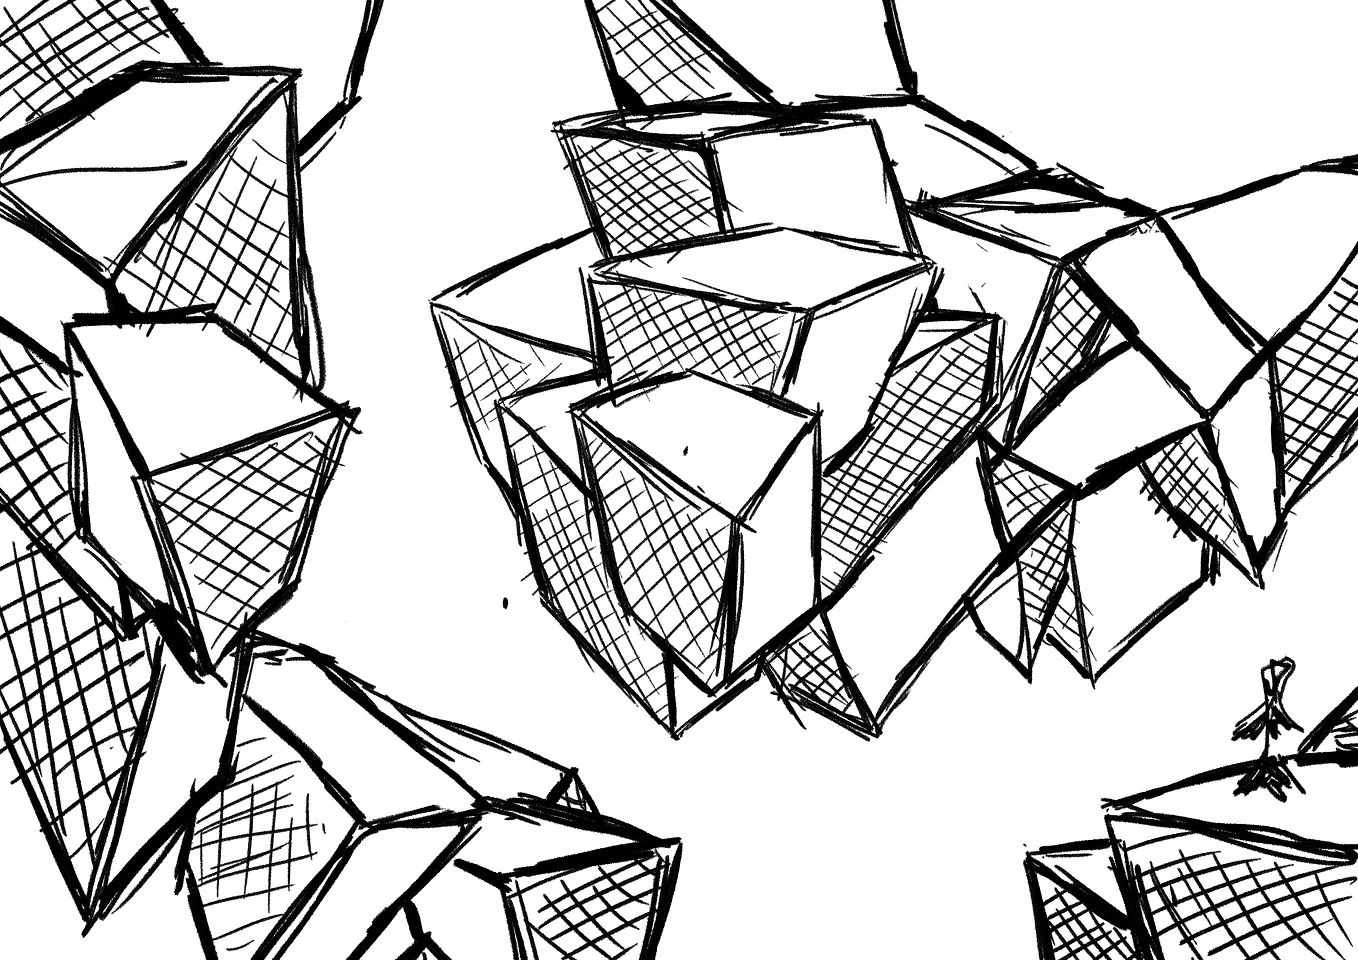
- Next is the blocking out phase just for really basic shape for the overall visual (this one I skipped in the previous assignment, but some theories that I have learned so far are applied to this step). Using the composition, perspective, camera view, scale, not lighting yet. Then try to play around for arranging them based on the horizontal, vertical, perspective line with visitor camera view based on the human’s height accuracy (normally 1m80).
- Going deeper in modelling assets. In building 3D environment, we need to have an assets kit, including all objects that we need to place in the map generally. For this I will use Maya as usual. (In Stu1 A3 RMIT I skipped this step, just use some free assets from Sketchfab because I don't have enough time beside the mechanical tree that I only use Maya for modelling, which also have its texture that I did skip Zbrush, UV map and Substance Painter steps lol).
- After that playing with Zbrush to sculpting textures that I want for my objects. I haven't played with Zbrush before so I think there will be a lot to play around with this software. Hope that I will be fine.
- Before going to next step, making 2 phases for high and low poly when baking in Substance Painter to make the scene not too overwhelming when rendering. Low poly when doing on Zbrush will be turned into high poly but in layer that I can export both low and high poly for UV mapping the low poly and baking the high to the low in painting step.
- Next, making UV map when finishing sculpting, this turns our objects’ surface into 2D that can be drawn in the next step.
- Using Substance Painter for this step, texturing the 2D map that we have done in the previous step. (For me this is a difference with 2D concept art because at this step at 3D we have to kind of like rendering full for the objects that we want to put in the next step. Not like 2D that rendering step by step for everything generally).
- Gemini said that Substance Designer can be used for repetitive details drawing, I’m pretty not sure about this so I think that I have to play around with this software in this step if I need it.
- In the rendering step, I have used Unity for the previous project. But most of the AAA Studio used UE5 so I will also have to play with this for lighting, arrangement, etc.
p/s: This is all my experimenting plan, everything for me is still not perfect and lacking a lot but I will try to update new things asap. By now, this is the best that I can do honestly.
Get Alex Tran’s stories in your inbox
Join Medium for free to get updates from this writer.
Some links that you guys may want to have a look at link1, link2, link3, link4. Thankyou!